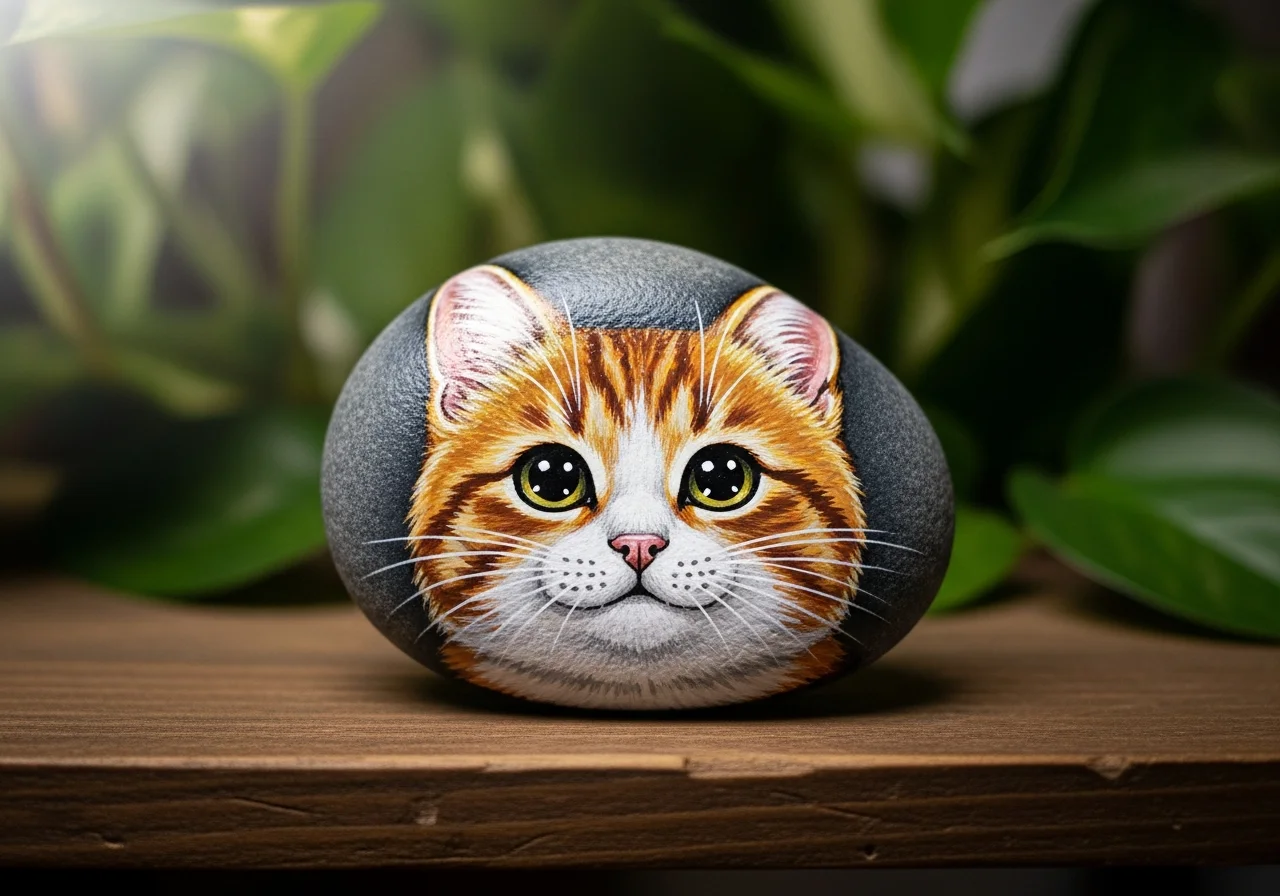

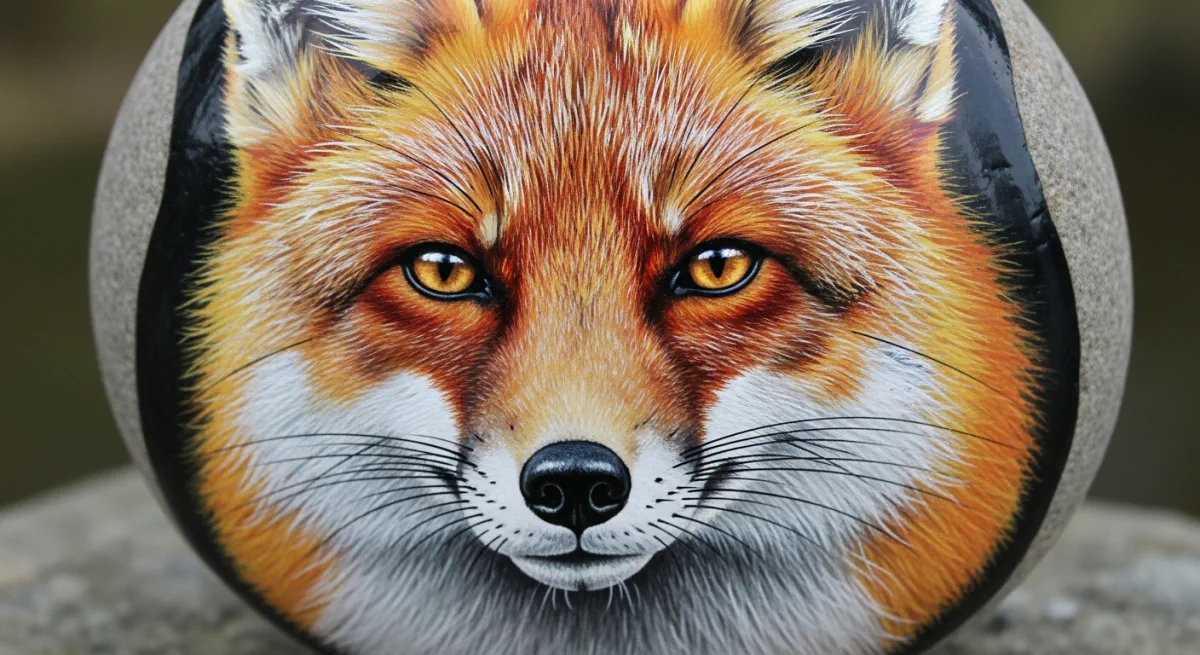
Realistic animal portraits on painted rocks represent one of the most admired - and most challenging - forms of the craft. When executed well, they stop people in their tracks: the texture of a fox's fur, the depth of an owl's amber eye, the delicate rosette pattern of a squirrel's coat rendered on a smooth pebble no bigger than a palm. This guide takes you through the advanced techniques for painting realistic animals on stone: from underpainting to final highlights.
The Foundation: Why Animal Rock Painting Is Challenging
The challenges specific to painting animals on stone are:
- Working on a curved surface - Unlike canvas, a stone curves in multiple directions, making consistent proportions difficult.
- Small scale - Details that would be painted with a 5mm brush on canvas must be suggested with a 0.5mm brush on stone.
- Acrylic drying time - Acrylics dry fast, which limits wet-on-wet blending time for smooth fur transitions.
Mastering these constraints produces results of extraordinary impact. See also our beginner-friendly animal rock painting guide for simpler approaches.
Materials for Realistic Animal Painting
To achieve realistic results, upgrade to:
- Artist-grade acrylics - Student-grade paints have higher filler content and less pigment. Artist-grade provides richer colour and better blending.
- Detail brushes - Size 0, 00 and 000 round brushes for fine fur lines. A liner/script brush for whiskers.
- Retarder medium - Mix a small amount of acrylic retarder into your colours to slow drying time, allowing more time for smooth blending.
- Reference photos - Use high-resolution wildlife photography as your primary reference. Print or display on a tablet beside your work.

Step-by-Step: Realistic Fox Portrait
The red fox is one of the most popular advanced rock painting subjects. Here is a complete approach:
- Sketch - Using a white chalk pencil, lightly sketch the fox's head shape on the stone. Mark the eye positions, nose, ears and the white bib area on the chest.
- Base colours - Lay in broad areas of flat colour: warm burnt orange for the main face and ears, white for the bib and inner ears, and black for the nose, leg extremities and ear tips. Allow to dry fully.
- Fur direction map - Study your reference to understand which direction fur grows in each area of the face. Mark these mentally or lightly with chalk.
- First fur layer - Using a size 0 or 1 round brush, paint short strokes in the direction of fur growth, following the base colour in each area. Use slightly darker or lighter tones than the base to begin building texture.
- Second fur layer - Repeat with even finer detail strokes, adding more tonal variation. Deepen shadows in the recessed areas (under the chin, inner ear, alongside the nose).
- Eyes - Paint the iris first in a warm amber or hazel. Add a round black pupil. Once dry, add a tiny bright white highlight dot in the upper portion of the pupil - this single dot transforms a flat circle into a living eye.
- Whiskers - Use a liner brush fully loaded with white paint. Draw from the muzzle outward in a single, confident stroke. Whiskers must be painted in one direction - no going back and forth.
- Final highlights - Use a very fine brush and near-white paint to add the brightest highlight streaks along the top of the nose, brow ridge and ear edges.
Key Technique: Building Fur Layer by Layer
The secret to convincing fur is patience and layering. Never try to paint realistic fur in one session. The approach is:
- Layer 1: Flat base colour
- Layer 2: First directional fur strokes (midtones)
- Layer 3: Shadow fur strokes (darker tones in shadow areas)
- Layer 4: Highlight fur strokes (lighter tones on raised areas)
- Layer 5: Final fine detail and brightest highlights
Allow each layer to dry completely before adding the next. Rushing this process is the main cause of muddiness in animal portraits.

Frequently Asked Questions
How long does a realistic animal rock portrait take?
A detailed fox portrait typically takes 4–8 hours spread across two to three sessions. Rushing the process produces poor results. If you are new to realistic painting, expect your first attempt to take longer and not meet your expectations - this is part of the learning process. Set your third or fourth attempt as your standard for sharing publicly.
Can I paint realistic animals without prior drawing experience?
Yes, but it helps enormously to practice sketching the animal's basic proportions on paper first. Even five minutes of loose sketching trains your eye to see the key shapes and relationships before you commit them to stone. Use grid lines (drawn on tracing paper over your reference photo) to transfer proportions accurately.