
Stencils are a game-changer for rock painters who want professional-looking results without years of freehand practice. Whether you are a complete beginner intimidated by blank stone surfaces or an experienced painter looking to speed up your process, stencils deliver clean, precise, repeatable designs that take your painted rocks to a new level of polish.
This guide covers everything you need to know: the types of stencils available, how to cut your own, how to apply them to curved stone surfaces, and the best stencil designs for rock painting.
Why Stencils Are a Game-Changer for Rock Painters
The main challenges of rock painting for beginners are:
- Getting clean, symmetrical shapes without drawing skill
- Creating consistent results across multiple rocks
- Achieving complex geometric patterns quickly
Stencils solve all three. A good stencil transforms a difficult snowflake, mandala or geometric design into a 10-minute task accessible to anyone. The result looks intentional, precise and impressive - even if it took just minutes to create. See also our beginner's rock painting guide for foundational techniques.

Types of Stencils Available
Three main categories of stencils work well for rock painting:
- Purchased Mylar stencils - Reusable, flexible plastic stencils available from craft stores and online. Look for mandala, geometric, floral and animal designs. The flexibility helps them conform to curved stone surfaces.
- Self-adhesive stencils - Peel-and-stick designs that hold firmly to the rock during painting, eliminating the risk of paint bleeding under the edges. Excellent for very intricate designs.
- DIY cut stencils - Cut from acetate, manila card or thick tape (e.g. sticky-back plastic). Free and infinitely customisable.
Cutting Your Own Stencils
Cutting your own stencils is easier than it sounds:
- Print or draw your design on paper.
- Place the paper over an acetate sheet and secure with tape.
- Using a craft knife on a cutting mat, cut through both layers simultaneously.
- Remove the paper and clean the acetate edges.
For rock-specific shapes, cut stencils slightly smaller than your average stone, as you will need to handle the edges around the stone's curve. Stars, geometric hexagons, simple flowers and snowflakes are all easy to cut and dramatic on stone.
How to Apply a Stencil to a Rock
The application technique is the most critical step:
- Basecoat first - Always paint the stone in your background colour and let it dry completely before applying the stencil.
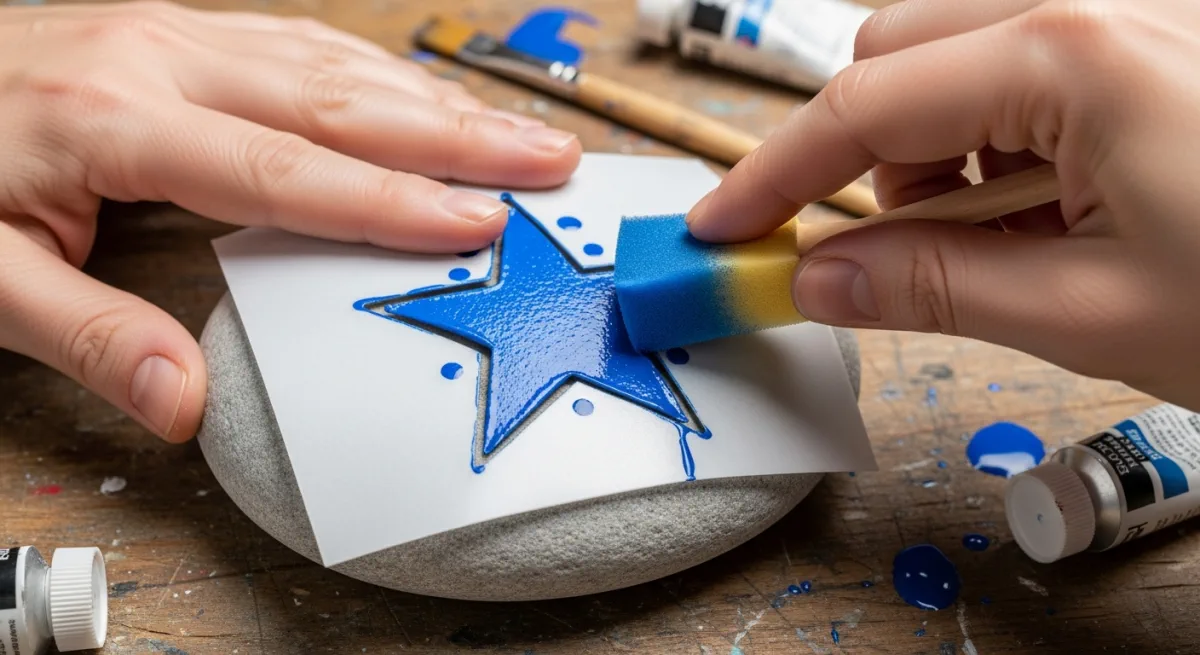
- Hold firmly - Press the stencil against the stone surface, paying special attention to the edges. For self-adhesive stencils, press firmly across the entire surface.
- Use minimal paint - This is the most common mistake. Apply paint with a barely-loaded sponge or stencil brush, using a dabbing motion rather than brushing. Too much paint bleeds under the stencil.
- Build up in layers - Two or three thin applications of paint create a crisper result than one heavy application.
- Remove carefully - Peel the stencil back slowly at a low angle, while the paint is still slightly wet, to avoid tearing the edges.

Best Stencil Designs for Rocks
These stencil categories produce the most impressive results on stone:
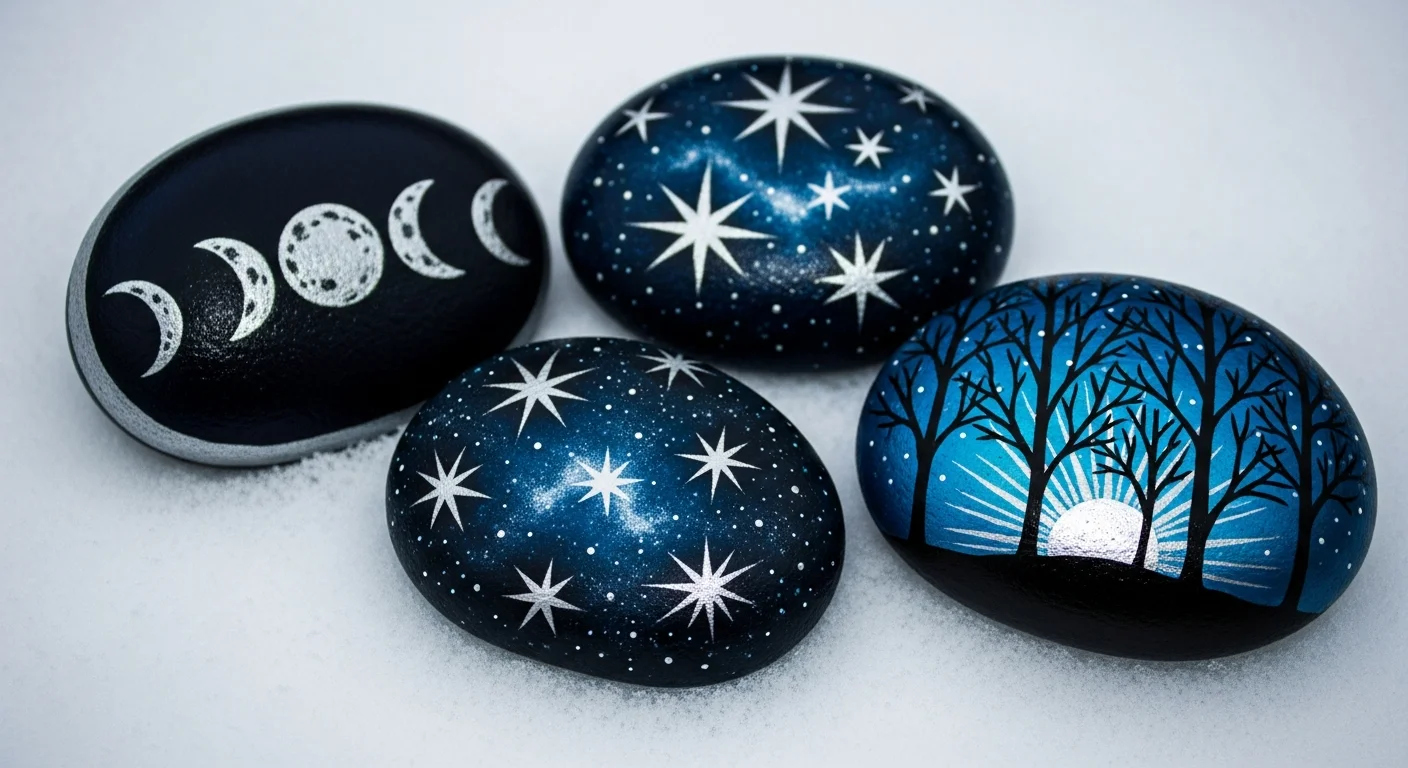
- Snowflakes - The geometric symmetry of a snowflake is almost impossible to achieve freehand but trivially easy with a stencil. Navy background, white stencil.
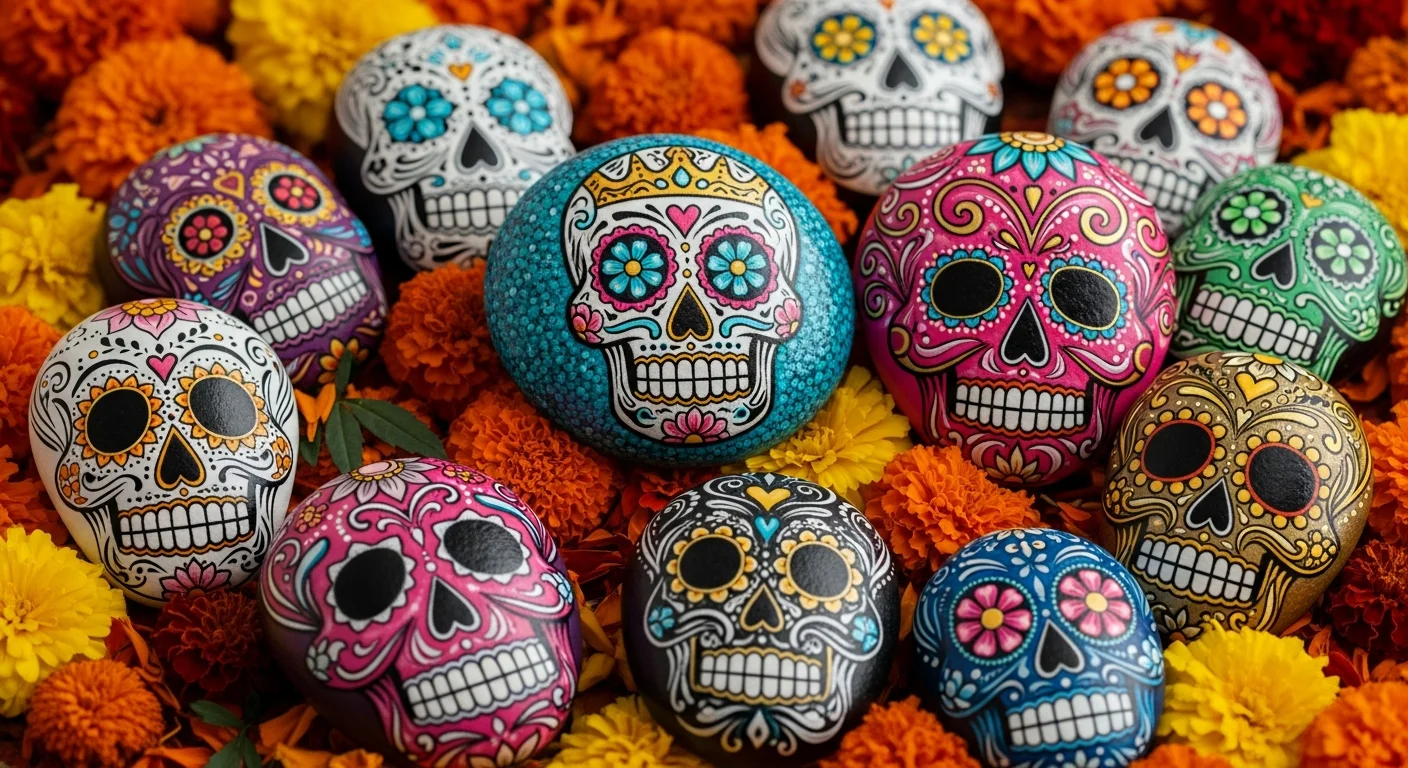
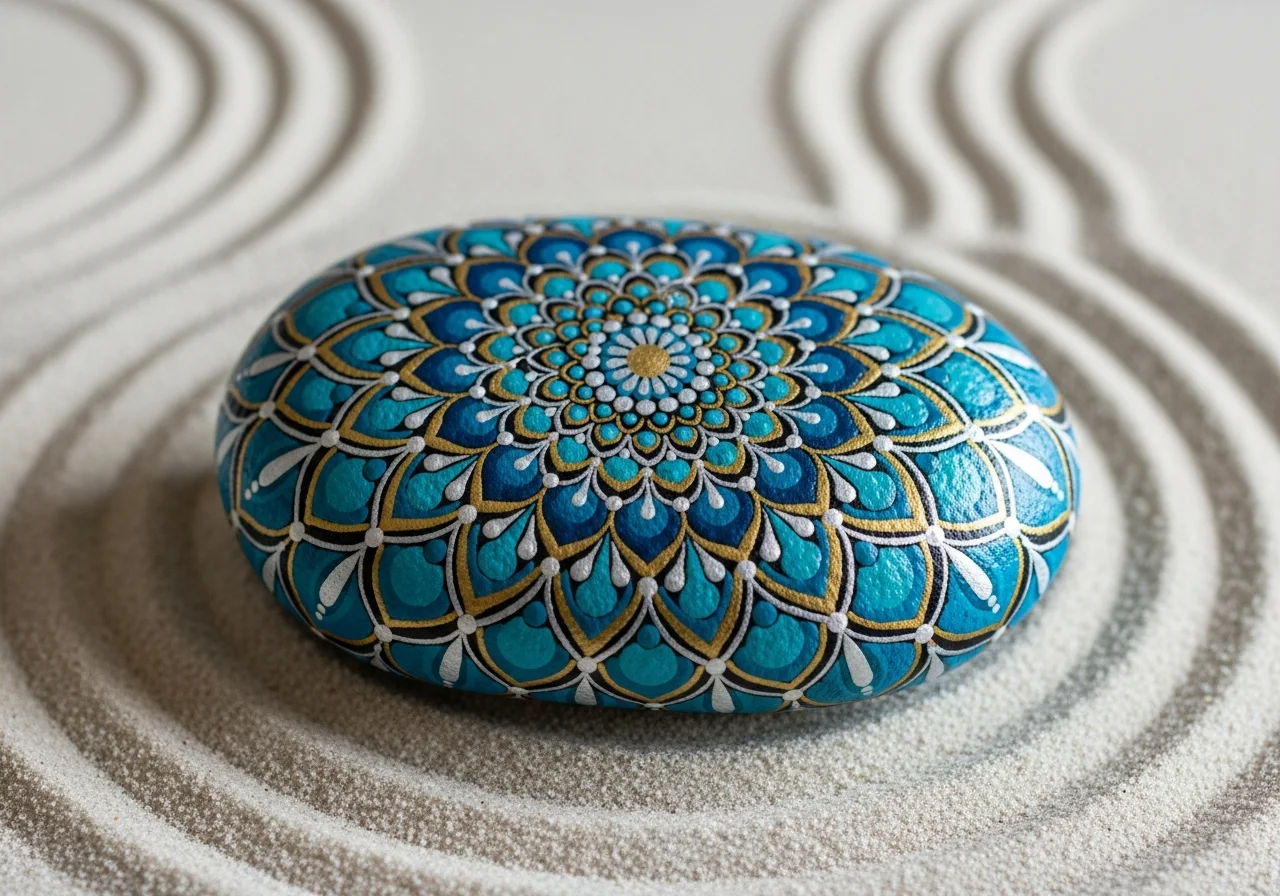
- Mandalas - Small circular mandala stencils create stunning symmetrical designs. Combine with dotting tools for extra dimension.
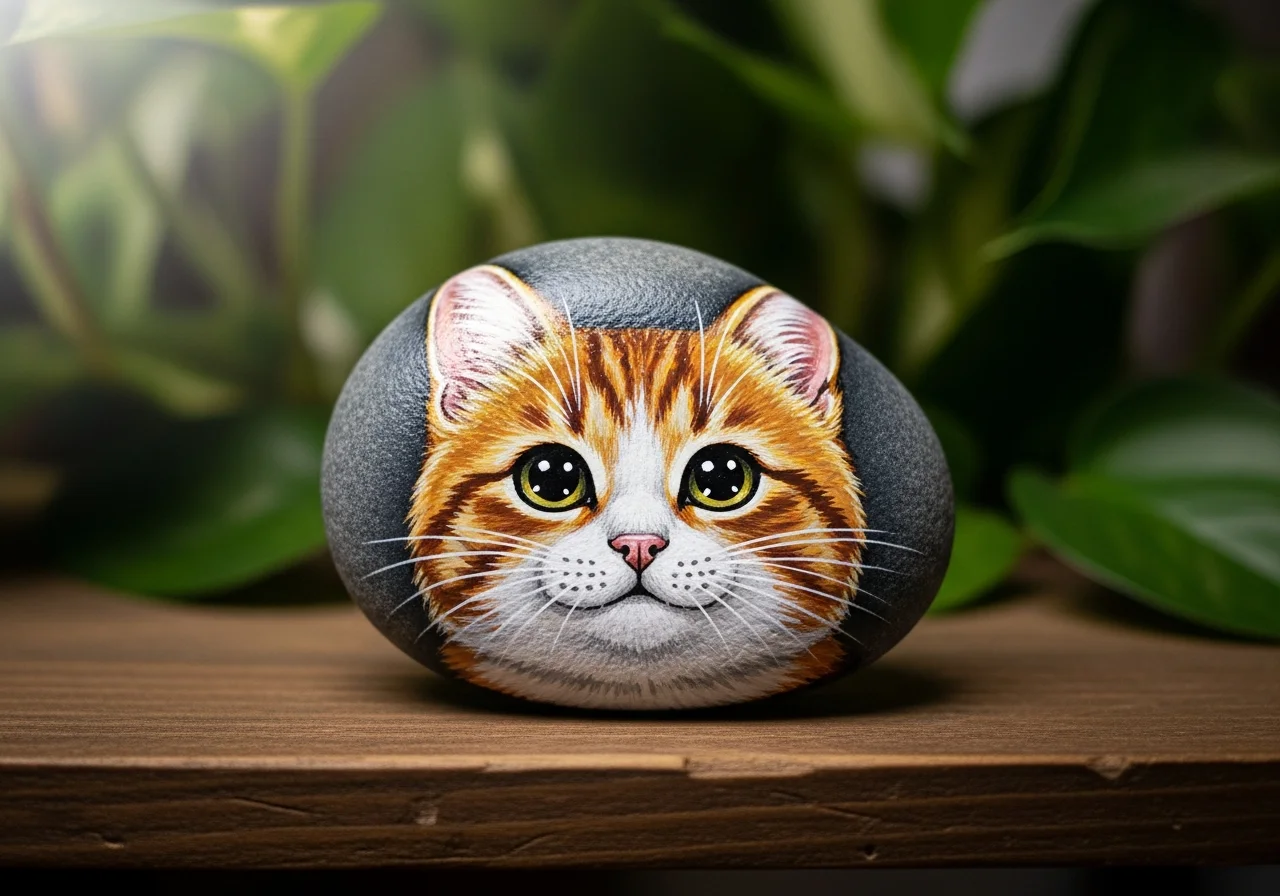
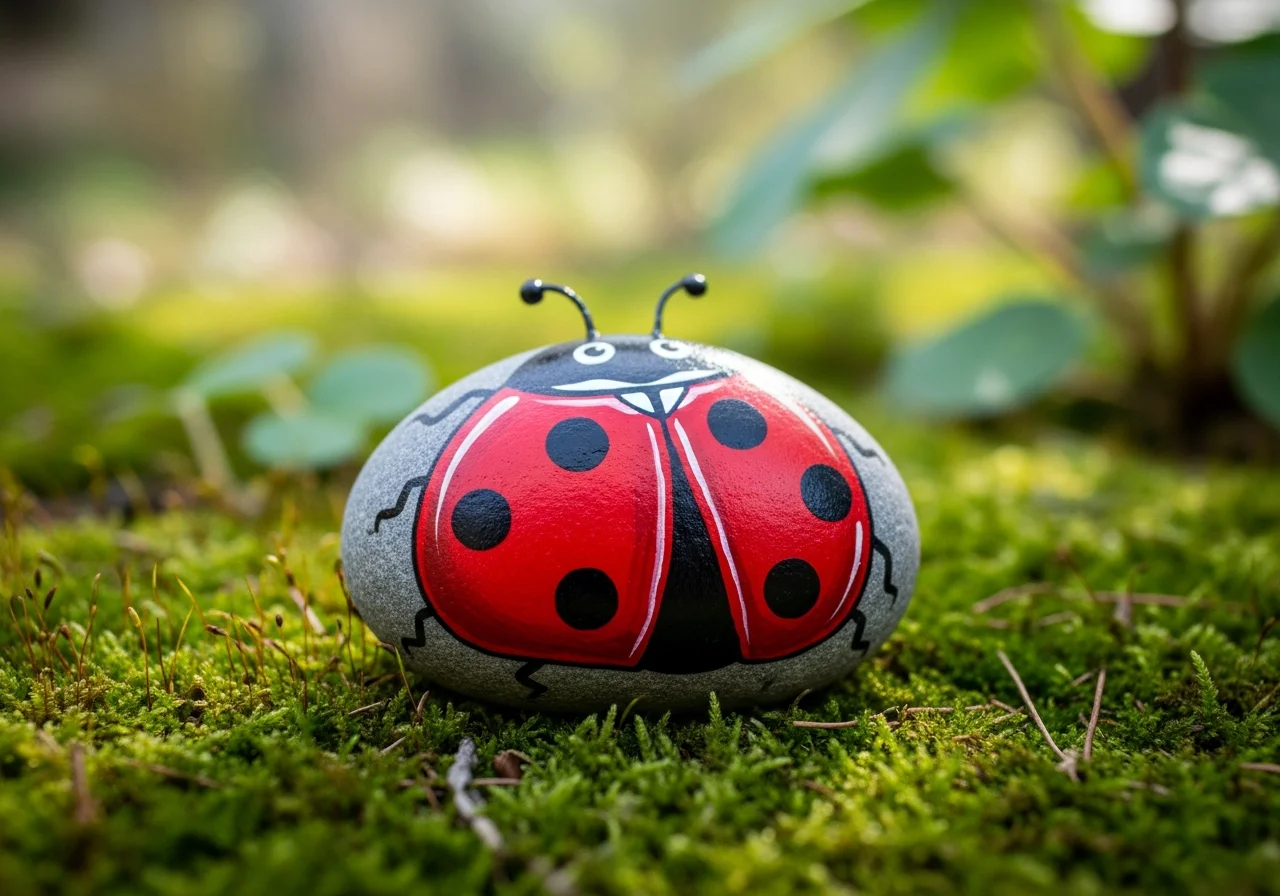
- Animals and silhouettes - A fox, rabbit or bird silhouette stencilled in black or white on a contrasting background is striking and immediately recognisable.
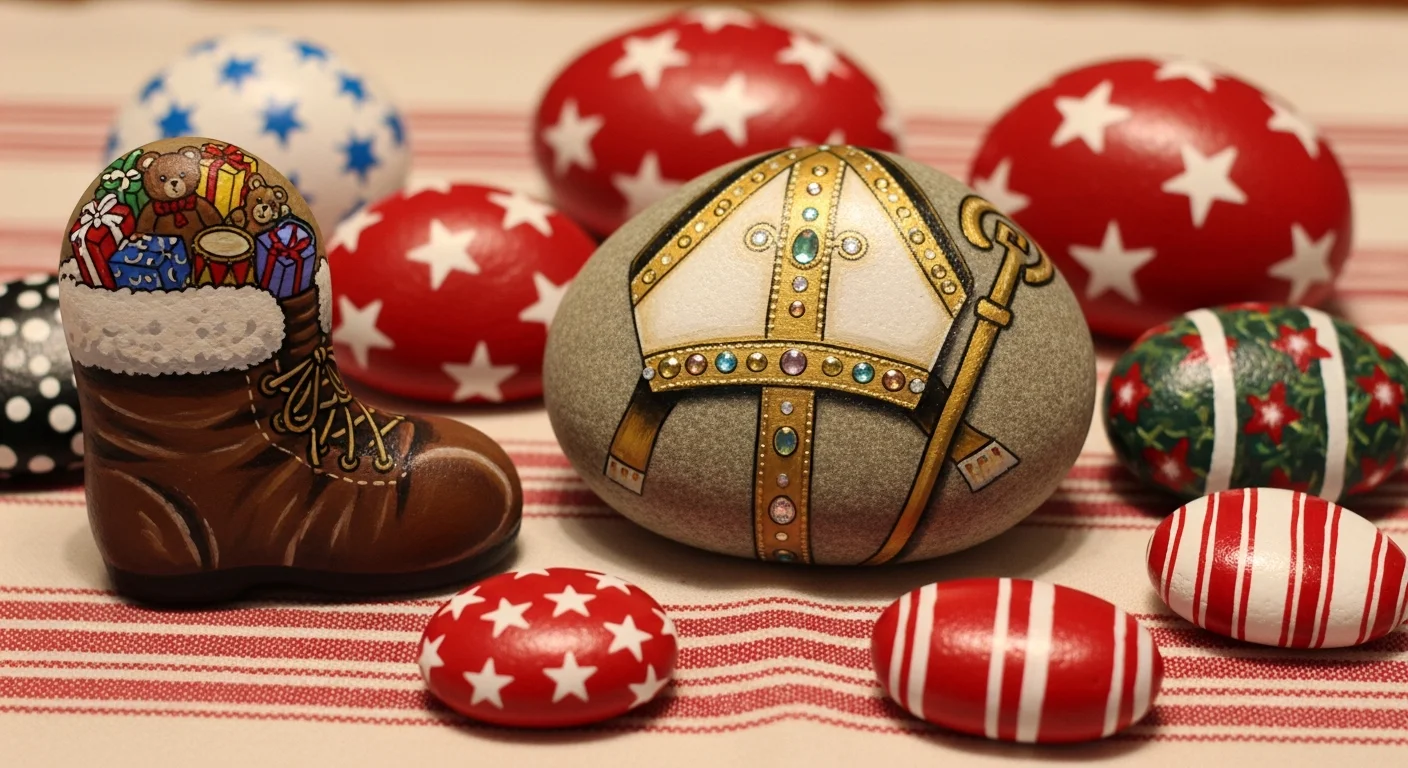
- Geometric patterns - Hexagons, diamonds and chevrons in contrasting colours.
- Botanical - Fern leaves, tropical monstera leaves and simple flower shapes.
Combining Stencils with Freehand Work
The best painted rocks often combine stencil precision with freehand personality. After the stencil design has dried, add freehand dot details around the edges, hand-paint a background texture, or add a second layer of freehand elements that build on the stencilled base. This hybrid approach gives rocks a layered, complex appearance that stencils alone cannot achieve.
Frequently Asked Questions
How do I clean reusable stencils after painting?
Rinse Mylar stencils under cool running water immediately after use. Acrylic paint is water-soluble while wet but permanent once dry. For dried paint, soak in warm soapy water and gently scrub with a soft brush. Pat dry and store flat.
Can I use stencils with spray paint on rocks?
Yes, and spray paint produces exceptionally crisp stencil results. Use light, sweeping passes from 20–30 cm away to avoid pooling. Always use a self-adhesive stencil or tape the edges firmly when using spray paint - the airflow can push paint beneath a loosely held stencil.