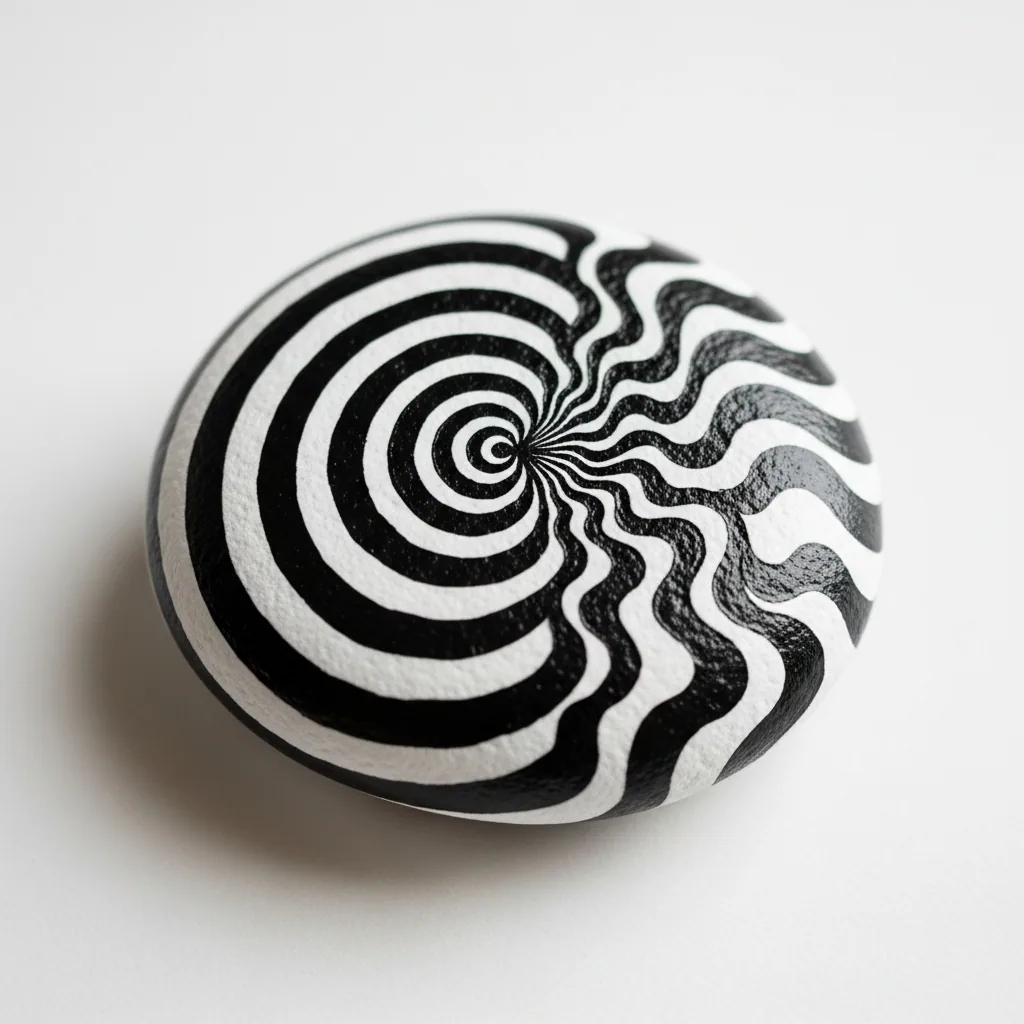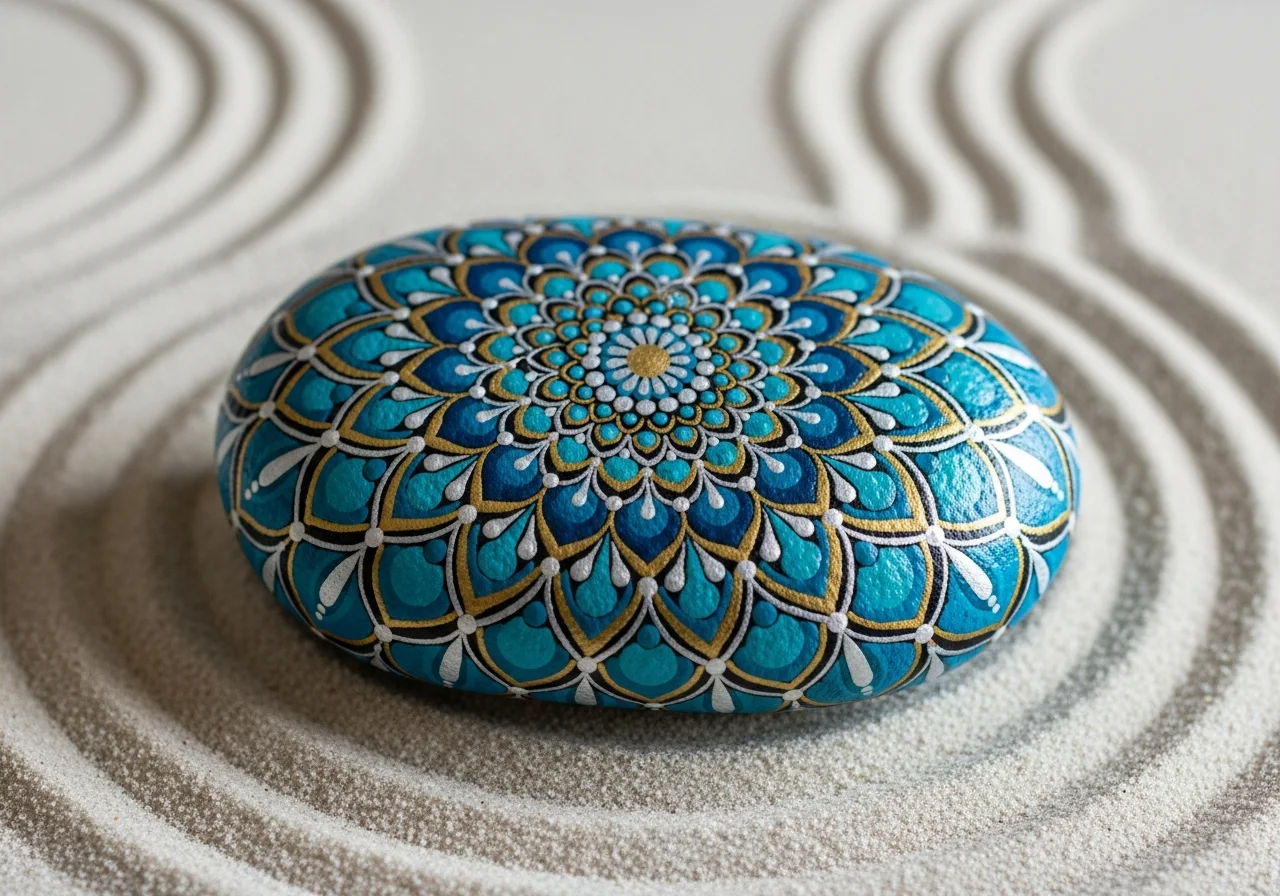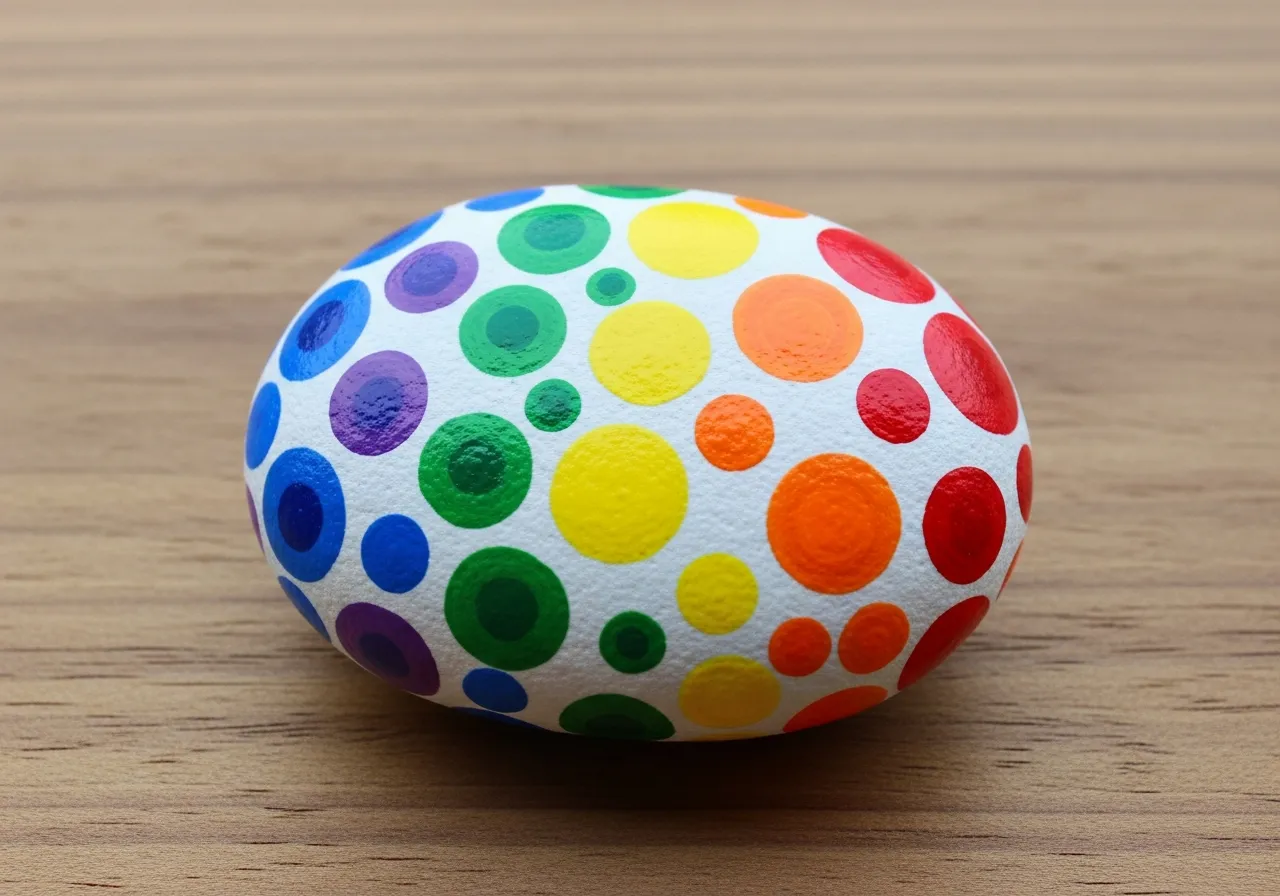


Kaleidoscope Rock Painting
- DifficultyHard
- Ages10–99
- 60 min
Materials Needed
- Large, round flat rock
- Acrylic paint in 6-8 vivid colours
- Black acrylic paint (for outlines)
- White acrylic paint (for base)
- Fine detail brush
- Compass, ruler and protractor (for symmetry grid)
- Pencil
- Clear sealant spray
Step-by-Step Instructions
-
Base coat and plan the symmetry
Apply two coats of white acrylic base. Using a protractor and pencil, divide the rock into 6, 8, or 12 equal wedge-shaped sectors radiating from the centre - like a pie. The number of sectors determines how complex and dense your kaleidoscope design will appear when finished.
-
Design one repeating sector
Sketch a geometric pattern inside just one sector: diamond shapes, concentric arcs, triangular fills, and fine lines that radiate from the centre point. This single sector will be repeated identically across all sectors. Take time to make this one perfect before duplicating.
-
Paint the repeated geometric forms
Assign a specific vivid colour to each geometric shape across all sectors, keeping the same shape in the same colour throughout. The colour symmetry is what creates the kaleidoscope effect. Use complementary pairs like violet-yellow or red-green for maximum visual impact.
-
Fill the background areas
Paint the background spaces between the geometric shapes with black or a deep dark colour. Black backgrounds make the vivid colours appear more intense and jewel-like. Carefully outline the shapes if needed to keep your colour boundaries sharp and clean across all sectors.
-
Add fine black outlines and details
Using black paint and a very fine brush, carefully outline every geometric shape across all sectors. Sharp black outlines increase clarity and create a stained-glass quality that is central to the kaleidoscope aesthetic. Add tiny dot accents at geometric intersections.
-
Add white sparkle highlights
Using a toothpick and white paint, add a small white highlight dot in the centre of each main coloured shape and a larger white dot at the absolute centre of the rock. These white sparks mimic the central light source of a real kaleidoscope, completing the optical illusion.
-
Seal and rotate to admire
Apply two coats of clear sealant spray and allow to dry fully. Hold the finished rock up and slowly rotate it - each new angle reveals a slightly different kaleidoscopic arrangement. The symmetry creates a mesmerising effect that rewards close examination from every angle.
-
Add RoxGeo Code
On the bottom or back of your rock, write ROXGEO.COM followed by a slash and your rock’s unique code (e.g. ROXGEO.COM/ABC123). This lets the finder go directly to your rock’s profile page and log their discovery. If the rock is too small for the full address, write #ROX followed by the code without spaces (e.g. #ROXABC123) — it’s short, easy to search on Google, and leads straight to your rock’s journey page. Use a fine-tip permanent marker or acrylic paint pen, and seal it with clear varnish so the code stays readable through rain, sun, and adventure.
Helpful Tips
- The protractor is not optional - precise equal sectors are the foundation of the entire kaleidoscope effect.
- Complementary colour pairs create the strongest visual pop; avoid using all warm or all cool tones.
- A black background between shapes makes colours appear brighter - similar to stained glass.
- Paint one complete sector as a test before replicating the pattern; adjustments are much easier at this stage.
- Photograph the finished rock in natural daylight to capture the full jewel-like quality of the colours.