


Materials Needed
- Flat, smooth rock (oval or round)
- Acrylic paints: white, blue, green, brown, yellow and red
- Flat brush for the background
- Fine brush for the garlands and snow
- Cotton swabs for the ornaments
- White acrylic marker for the garlands (optional)
- Outdoor varnish (optional, for an adult to apply)
- Printed A4 template with outlines (optional)
Step-by-Step Instructions
-
Paint the background
Wash and dry the rock. Mix white with a little blue paint. Using a flat brush, cover the front with a thin layer of light blue and let it dry.

Show the diagram for this step

-
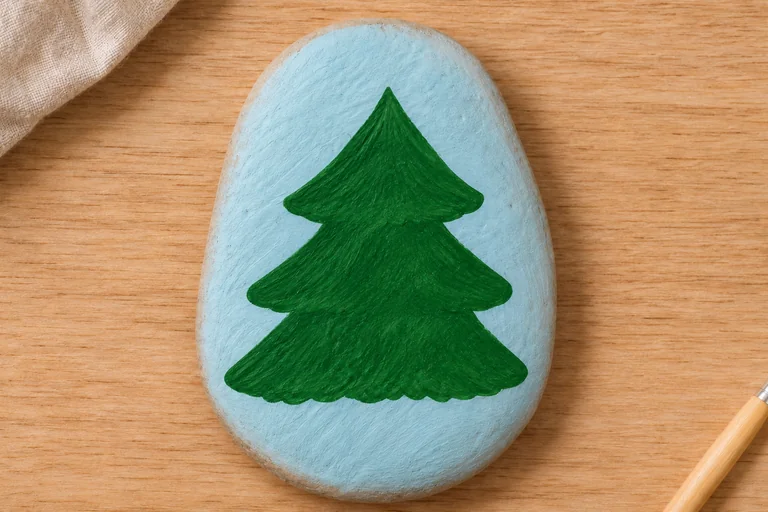
Paint three tiers of branches
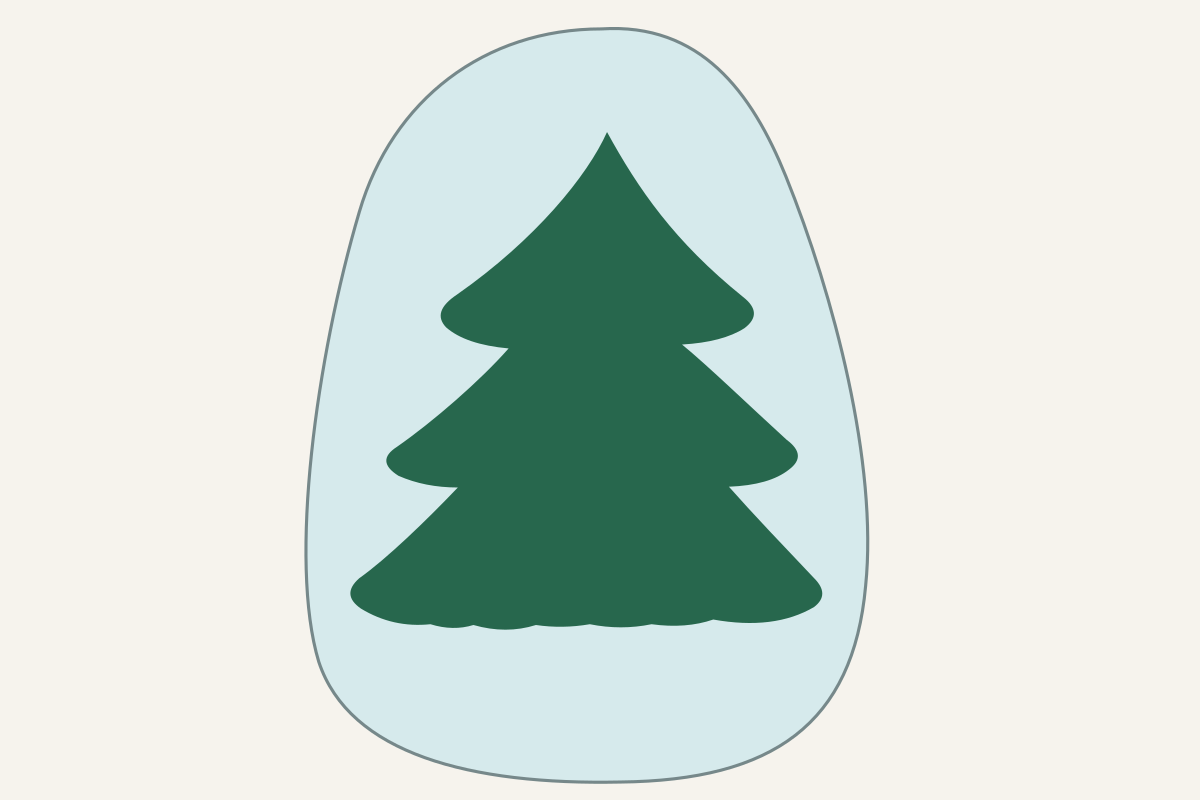
Start with a small green triangle. Below it, paint two progressively wider ones so that they overlap slightly. Leave room for the star above the top and for the trunk at the bottom.
Show the diagram for this step
-
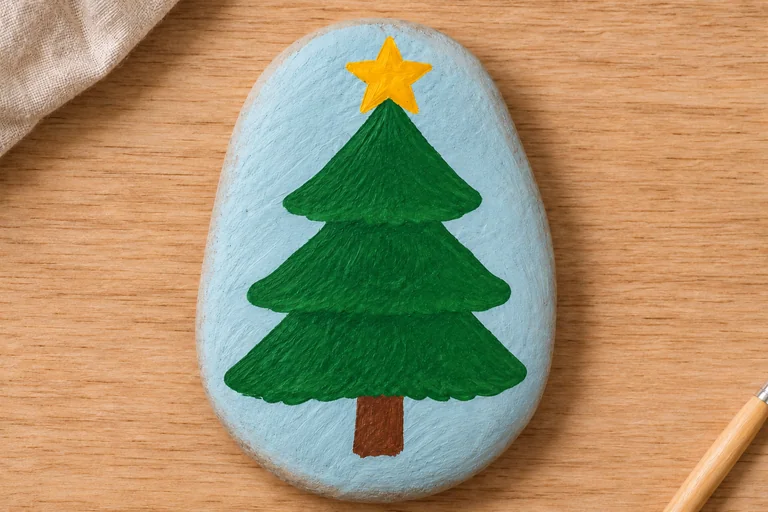
Add the trunk and star
At the bottom, paint a short brown rectangle. Put a yellow star on the top. If you are painting with a little one, a single large yellow dot can replace the star.
Show the diagram for this step

-
Hang the garlands and ornaments
On the dry green, use a thin brush to paint two white arcs. Then dip the tip of a cotton swab in paint and touch it to a branch. One touch makes one ornament. Use a fresh tip when you change color.

Show the diagram for this step

-
Dust the branches with snow
Pick up a little white paint. At the end of each branch, lay a short stroke, as if snow had just fallen on it. Leave the finished tree to dry completely.
Show the diagram for this step

-
Add RoxGeo Code
Once the paint and varnish are completely dry, label the back of the rock with your RoxGeo code. Where will your Christmas tree go?
The photorealistic step illustrations were created with the help of AI.
Where will your Christmas tree go?
You can give it to someone or leave it to be found. If you want to follow its journey, register the rock in RoxGeo together with an adult. On the back, write ROXGEO.COM/ and, right after the slash, your own code. Below it, write the four-digit PIN from the app. In the public photo, show the front of the rock.
When the paint and the writing are dry, an adult can protect both sides with outdoor varnish, following the instructions on the packaging.
How to send a rock on a journey