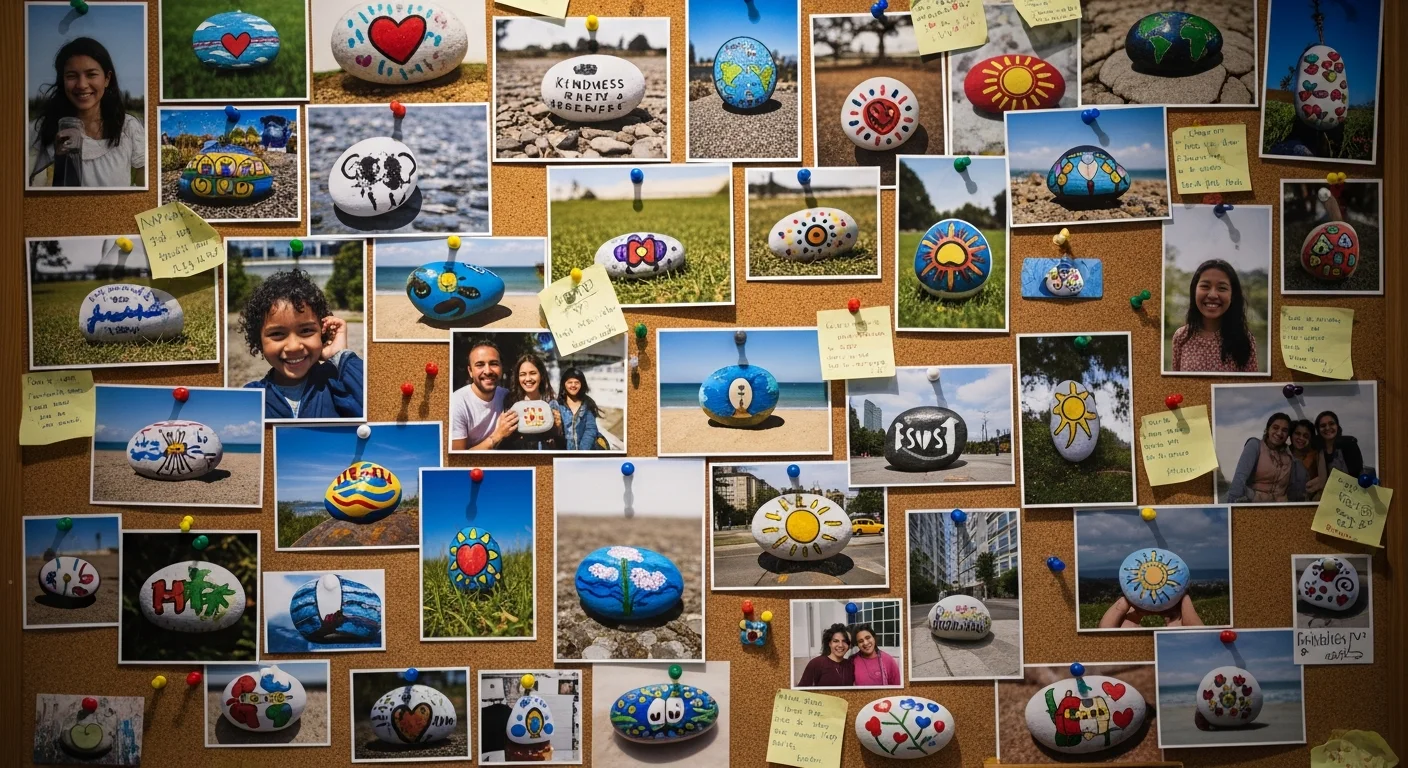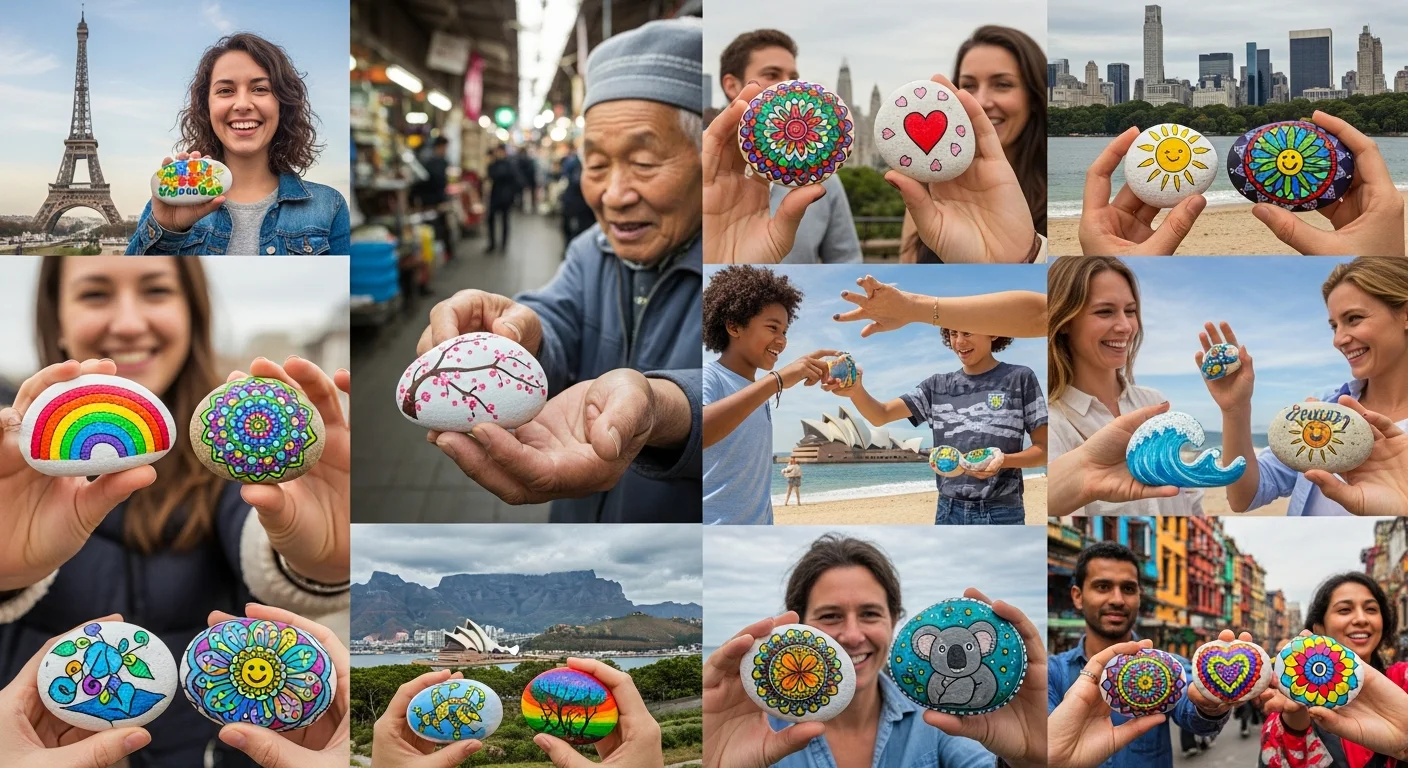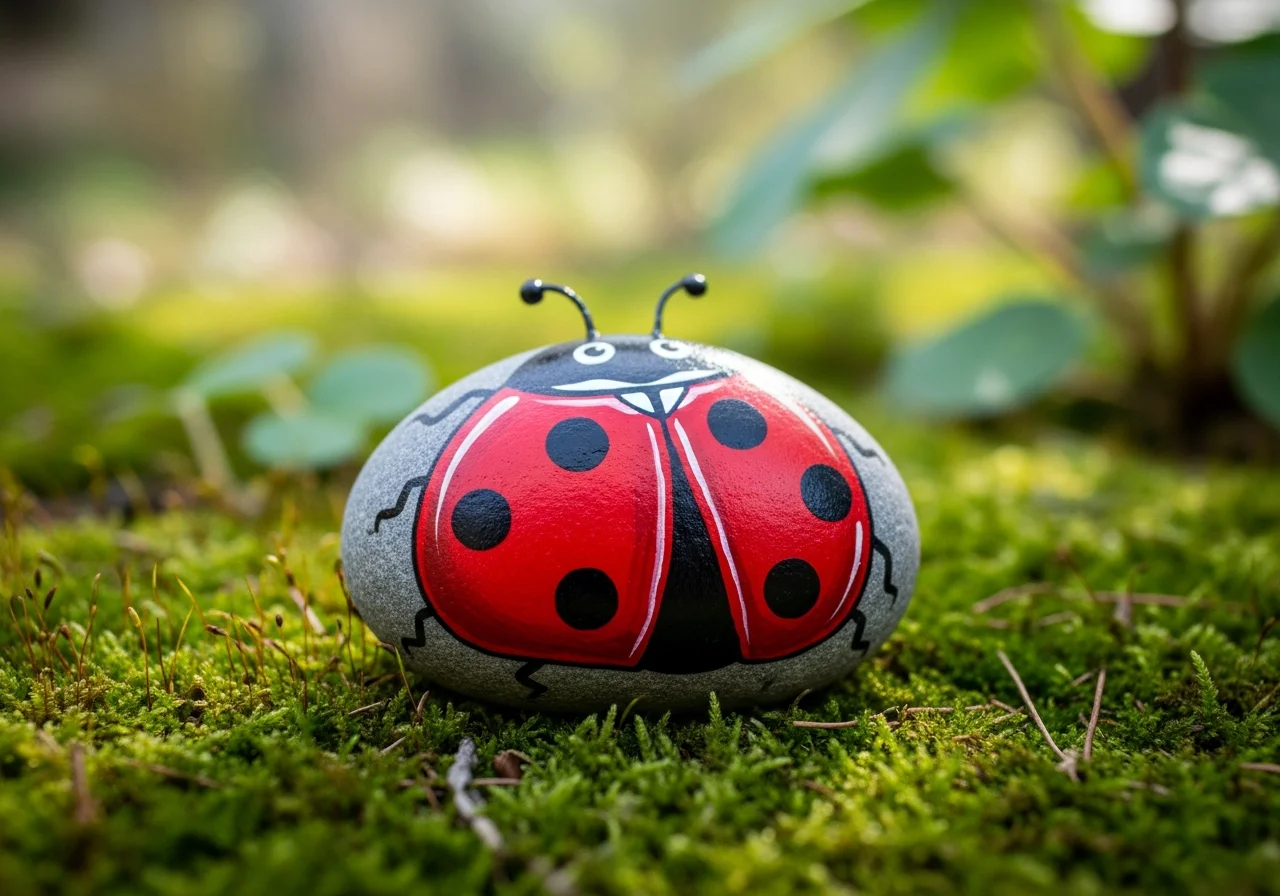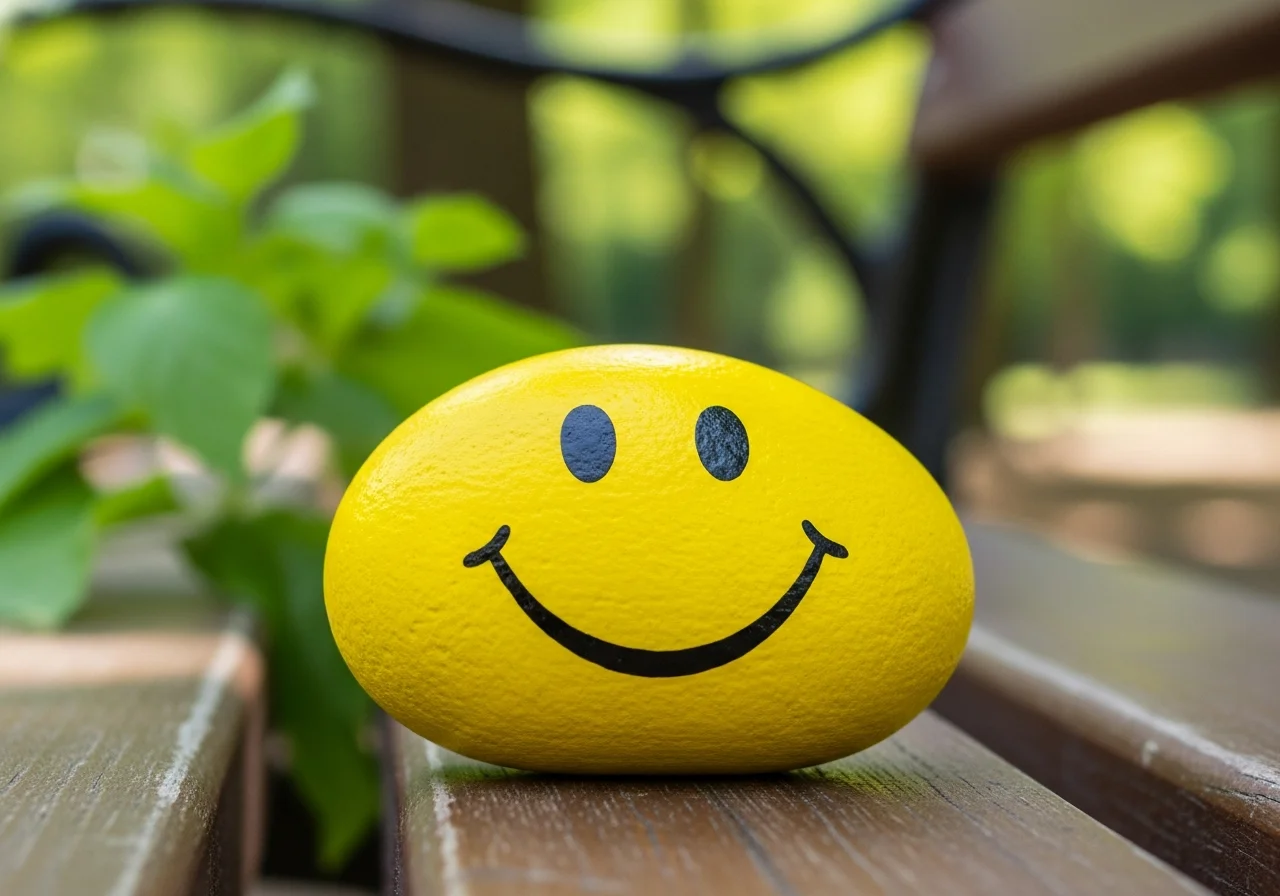

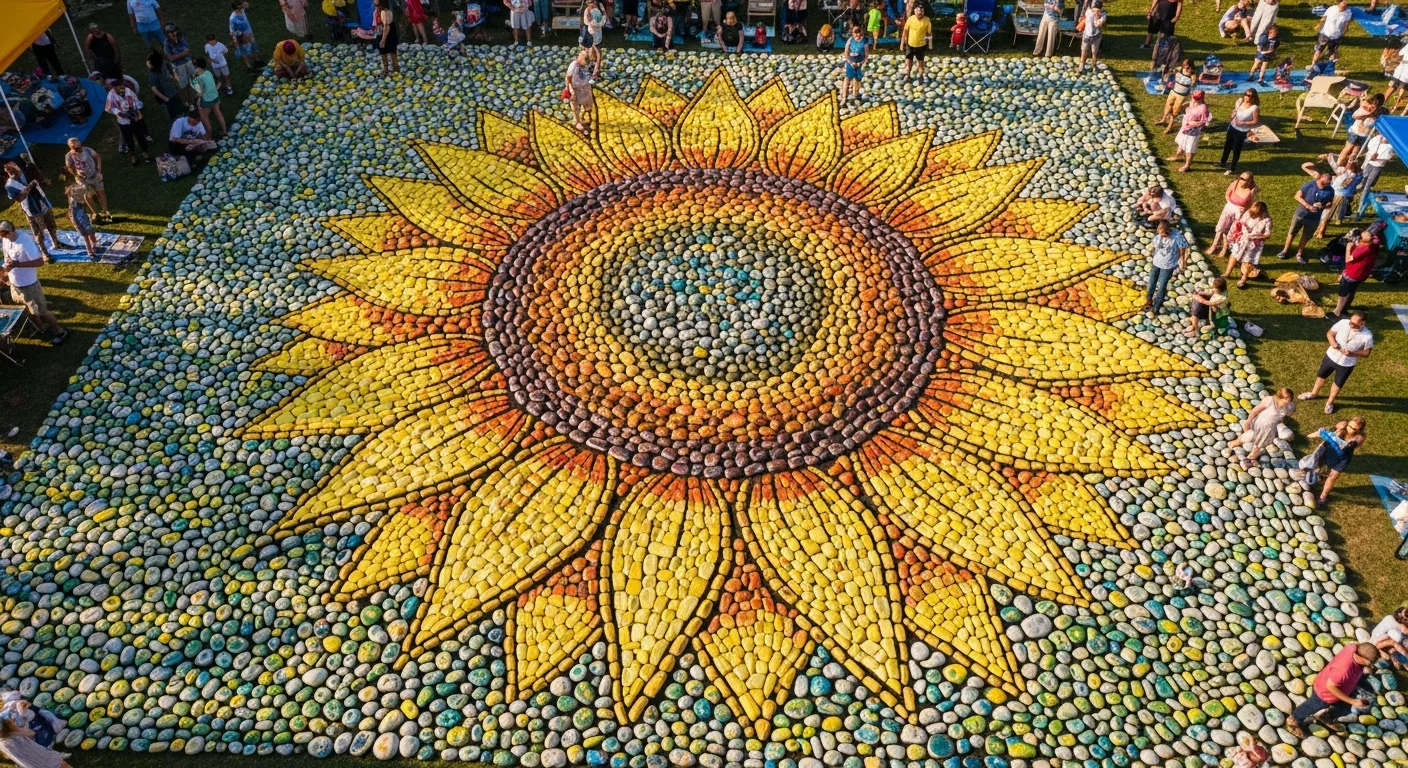
A community rock mural is one of the most ambitious and rewarding projects in the rock painting world. Unlike individual rocks hidden and found across a city, a rock mural is a collective installation that assembles dozens or hundreds of individually painted stones into a coherent whole - a mosaic of community creativity that can occupy a public space, tell a local story, or celebrate a community milestone.
Concept and Planning
The first stage is concept development. The best community rock murals have a clear, meaningful theme connected to the community:
- Nature themes - A large sunflower, a tree with seasonal leaves, a river with wildlife
- Local heritage - A map of the local area, key community landmarks, historical imagery
- Abstract patterns - Large geometric mosaic, mandala, rainbow spectrum
- Commemorative - Celebration of a school anniversary, community organisation milestone, or local event
Once the theme is chosen, create a detailed grid plan showing exactly which section each participant will paint. For a mosaic that reads well from a distance, individual rocks should be assigned specific colours from the overall palette - the sum of individually painted pieces must create a coherent image.

Participant Coordination
For a community mural involving 50–200+ participants:
- Rock assignment system - Number each rock position in the grid. Assign numbered rocks to participants. Each participant receives their stone and a colour swatch showing exactly what colour they should paint it.
- Painting sessions - Organise two or three group painting sessions over 2–4 weeks, to accommodate different schedules. Provide all materials at the sessions for those who cannot source their own.
- Quality guide - Provide a simple illustrated guide showing the acceptable colour range and coverage for each rock type. Consistency in quality makes the assembled mural coherent.
- Varnishing protocol - All rocks must be sealed before assembly. Provide varnish at the final collection session for any rocks not yet sealed.
Installation
The installation day is the community event centrepiece. Plan carefully:
Surface - Flat ground surface, a stepped plinth, or a prepared board or frame are all viable options. If outdoors permanently, use waterproof adhesive and ensure the surface is stable and weatherproof.
Assembly order - Begin from the centre or a defined starting corner, working outward. Number the ground positions on your layout plan. Have the grid map visible to all assemblers.
Unveiling ceremony - Invite all participants and the wider community to the unveiling. Capture aerial photographs using a drone or elevated ladder shot for the best documentation of the completed mural.

Connecting the Mural to RoxGeo
If the mural is a temporary installation (rather than permanent), register every rock on RoxGeo before installation. After the unveiling event, disperse the rocks into the community as a large-scale rock hunt - each participant can find the rock they painted (or any other mural rock), log it, and track where it travels next. This creates a living second act for the community mural long after the installation itself is dismantled.
See our guide to community building through rock art for more ideas on large-scale community projects.

Frequently Asked Questions
How many rocks do I need for a community mural?
A 1m x 1m mural using fist-sized stones requires approximately 100–150 rocks. A 2m x 3m installation may use 400–600. Calculate based on your stone size and the desired coverage density. Always source 20% more rocks than calculated to allow for breakage and colour matching needs.
What adhesive should I use for a permanent outdoor rock mural?
For outdoor permanent installations, use a high-quality polyurethane construction adhesive (like Sikaflex or similar) applied to a weatherproof base surface. Test the adhesion on a sample before the full installation. Outdoor-grade tile adhesive works for flat, horizontal surfaces. Consult a building professional for large-scale permanent public art installations.
How do I ensure all participants' rocks match the overall design?
Provide physical colour swatches (painted card squares) to each participant showing their exact target colour. Create a sample rock in each colour yourself as the definitive reference. During collection, briefly assess each returned rock against your colour reference before finalising the assembly plan.