
A beautifully photographed painted rock can inspire hundreds of other painters, attract a finder to your hidden stone, and preserve a record of your creative journey. Poor photography, on the other hand, makes even an exquisite rock look muddy and flat. This guide covers the essential techniques for photographing painted rocks with any camera - including a smartphone - to produce images that do justice to your work.
Lighting: The Most Important Element
Lighting determines more about a photograph's quality than any other single factor. For painted rocks, the ideal light sources are:
- Natural window light - Position your rock near a window, with the light source to one side rather than directly behind the camera. This side lighting creates gentle shadows that reveal the texture of the stone and the brushwork of the paint.
- Overcast outdoor light - Outdoor light on a cloudy day is perfectly diffuse and even - ideal for capturing accurate colours without harsh shadows or specular reflections.
- Golden hour - The hour after sunrise and before sunset produces warm, directional light that makes colours glow. Particularly beautiful for nature-themed rocks.
Avoid direct overhead indoor light (creates flat, uninteresting images), direct flash (causes reflections on the sealant and flattens texture) and mixed light sources (combining cool daylight with warm artificial light produces odd colour casts).

Backgrounds That Make Rocks Pop
The background is the second most important element. It should complement the rock without competing with it:
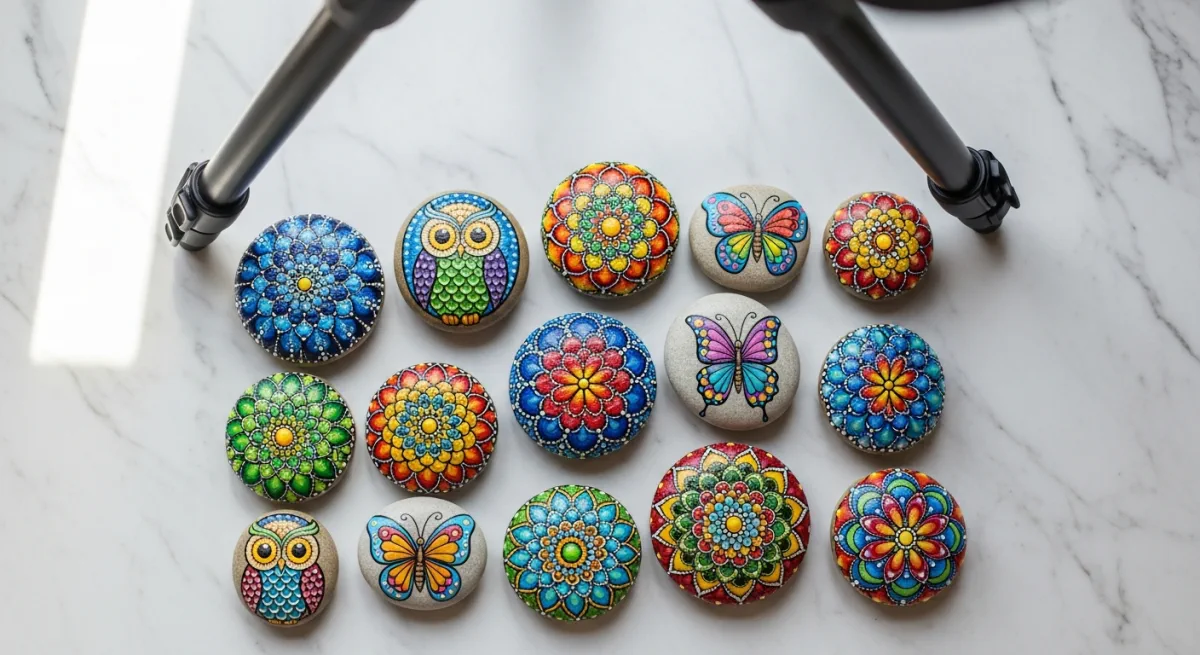
- White or off-white paper/card - Clean, timeless and lets the rock be the star. Ideal for documentation purposes and RoxGeo registration photos.
- Natural materials - Slate, bark, pebbles, linen fabric, reclaimed wood. These backgrounds feel authentic and contextualise the rock as a natural object.
- Dark backgrounds - Black card or dark slate makes colourful rocks with bright designs appear to glow. Particularly effective for mandala rocks.
- Seasonal props - Autumn leaves under an autumn-themed rock, pine sprigs under a winter rock, flowers under a spring rock. These add immediate context and narrative.
Camera Settings and Composition
For smartphone photography:
- Portrait mode - On iPhones and Androids, portrait mode blurs the background while keeping the rock sharp. Creates professional depth of field instantly.
- Tap to focus - Always tap directly on the rock to ensure it is the sharpest element in the frame.
- Grid lines on - Enable camera grid lines to compose using the rule of thirds: position the rock at an intersection point rather than dead centre.
- HDR off - HDR can over-process painted rock images. Turn it off for more accurate colour reproduction.
Angles and Perspectives
- Flat lay (top-down) - Directly above the rock, on a flat surface. Best for mandala rocks and designs meant to be viewed face-on.
- 45-degree angle - The classic three-quarter view that shows both the face and the side of the stone, suggesting dimensionality.
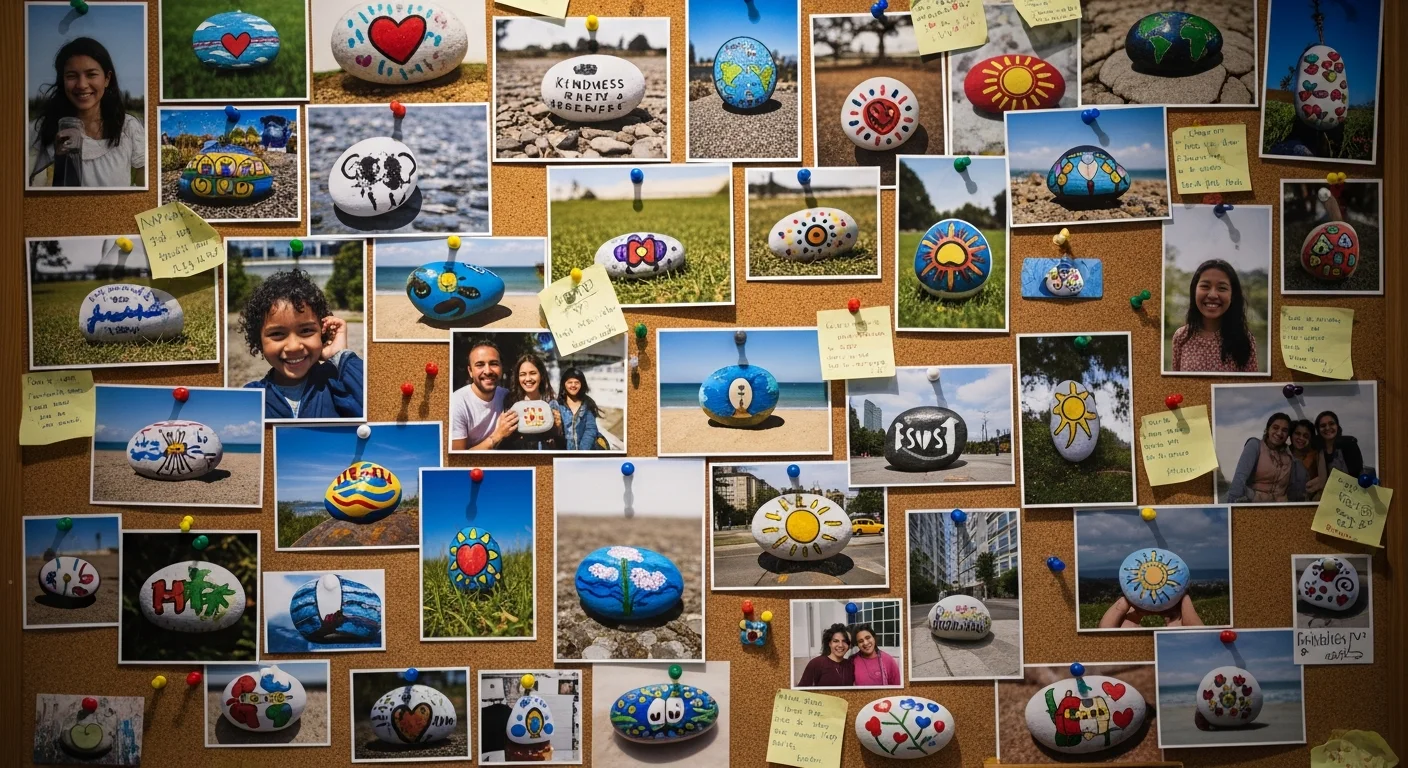
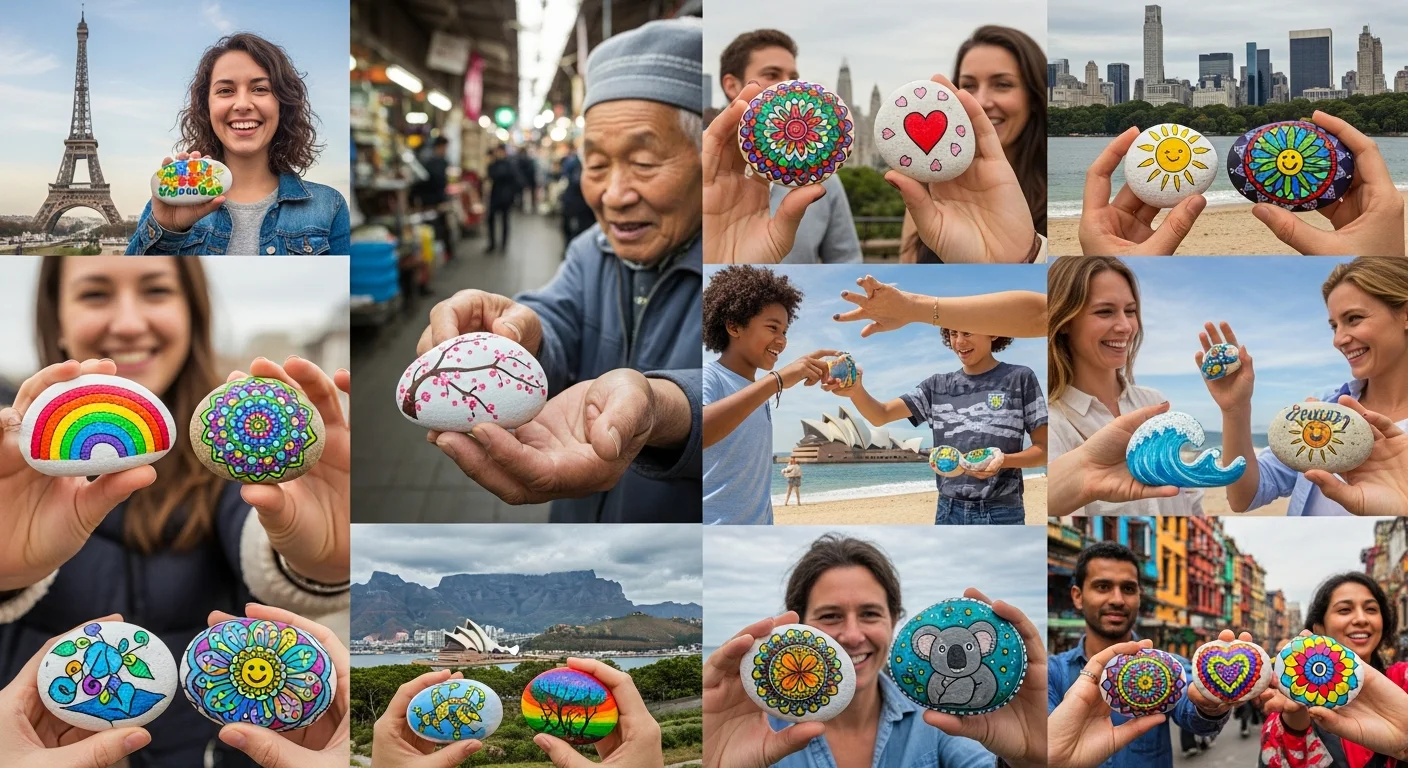
- Contextual shot - Show the rock in its hiding spot, in a natural environment, or in someone's hand. These shots tell a story and are the most compelling for social sharing.

Simple Editing for Better Results
A small amount of post-processing significantly improves rock photos:
- Brightness/Exposure - Lift by 10–15% to prevent shadows from appearing muddy.
- Contrast - Increase slightly to make colours more vibrant.
- Saturation/Vibrance - Increase vibrance (not saturation) by 10–20% to make colours more accurate to real life.
- Sharpening - Apply modest sharpening to emphasise fine brushwork and dot details.
Free apps: Snapseed (best overall for mobile), Lightroom Mobile (most control), VSCO (great presets for natural-looking results).
Photographing Rocks for RoxGeo Check-ins
When uploading photos to RoxGeo as a finder, include at least one photo that clearly shows the rock's painted face and one contextual photo showing where it was found. These two images together tell the complete story of the rock's current chapter. Clear, well-lit photos from finders motivate creators enormously and build the visual record of each rock's journey.
Frequently Asked Questions
How do I photograph shiny sealed rocks without glare?
Glare on sealant is one of the most common photography challenges for rock painters. Solutions: use diffuse light (overcast, window with a net curtain, or a DIY white paper reflector to soften the light source); shoot at a slight angle rather than straight on; use a polarising filter (available as a clip-on for smartphones) to cut specular reflections.
What is the best backdrop for photographing black-background rocks?
For rocks with a dark or black background, use a very light backdrop - pure white card, pale grey linen or cream coloured wood. The contrast makes the rock's colours appear to glow and gives the image a gallery-quality appearance.