
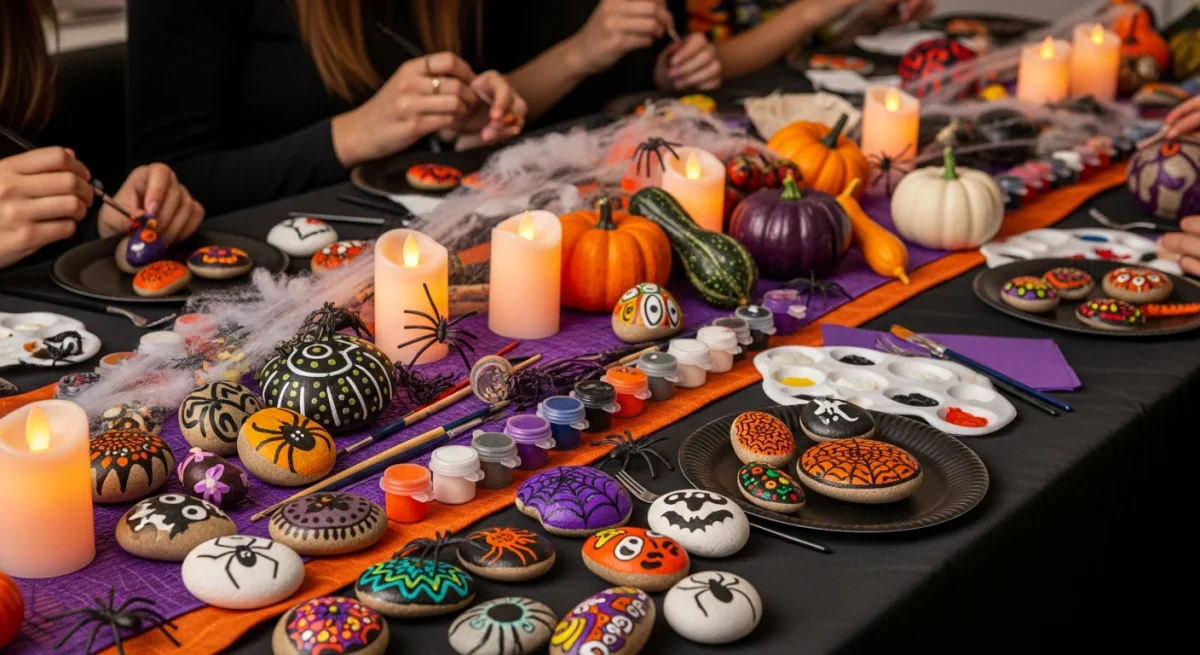
A Halloween rock painting party is the perfect autumn social event - creative, affordable, spooky enough to be festive and accessible enough that everyone from first-timers to experienced painters can join in. Unlike passive Halloween parties where guests watch a film or simply socialise, a craft party gives everyone a shared activity and a beautiful take-home reminder of the evening.
Setting the Scene
The atmosphere is everything at a Halloween craft party. Transform your space with:
- Lighting - Use only orange fairy lights, candles in jack-o-lantern holders and LED tea lights. The warmer and dimmer the light, the spookier and more atmospheric the creative space.
- Table decor - Scatter fake spider webs, plastic spiders, orange and black ribbon, and mini pumpkins across the table alongside the craft supplies.
- Sound - A background Halloween playlist of classic horror film soundtracks - without vocals - creates perfect atmosphere without being distracting.
- Costume - Encourage guests to come in costume. Painting in costume is an excellent photo opportunity and adds to the festive energy.

Halloween Design Options for All Skill Levels
Prepare instruction cards for four skill levels so every guest can find their comfort zone:
- Beginner: Orange pumpkin (oval rock, orange base, black triangles for eyes and toothy mouth). Friendly ghost (white rock, oval black eyes, curved smile).
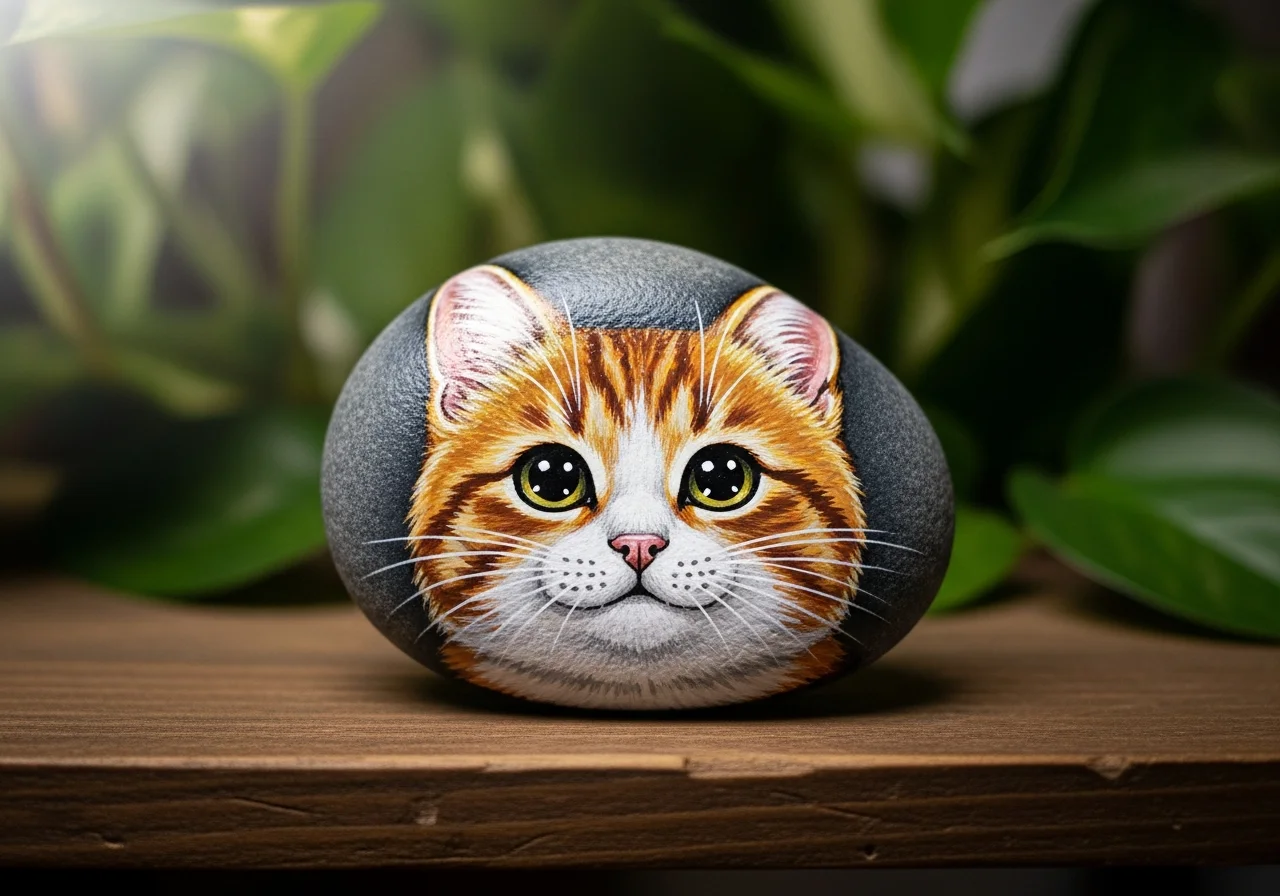
- Intermediate: Black cat with glowing green eyes on a midnight background. Spider web with white web lines on black and a hanging spider.
- Advanced: Moon and witch silhouette - full pale moon with a flying broomstick silhouette against it. Graveyard scene - row of grey headstone shapes with bare tree branches.
- Children's option: Simple skull - white oval with two black circles for eyes. Candy corn - white tip, orange middle, yellow base.
Party Activity Plan
Keep the evening flowing with this structure:
- First 30 minutes - Guests arrive, choose their rocks, browse instruction cards and start base coating.
- 30–90 minutes - Main painting session. Play Halloween playlist. Serve snacks and drinks. Facilitate socialising around the tables.
- 90–110 minutes - Drying time. Use a hair dryer if needed to speed drying. Begin sharing and photographing finished rocks.
- 110–120 minutes - Group photo with all finished rocks. Each guest registers their rock on RoxGeo or takes home to hide later.

After the Party: Community Rock Hunt
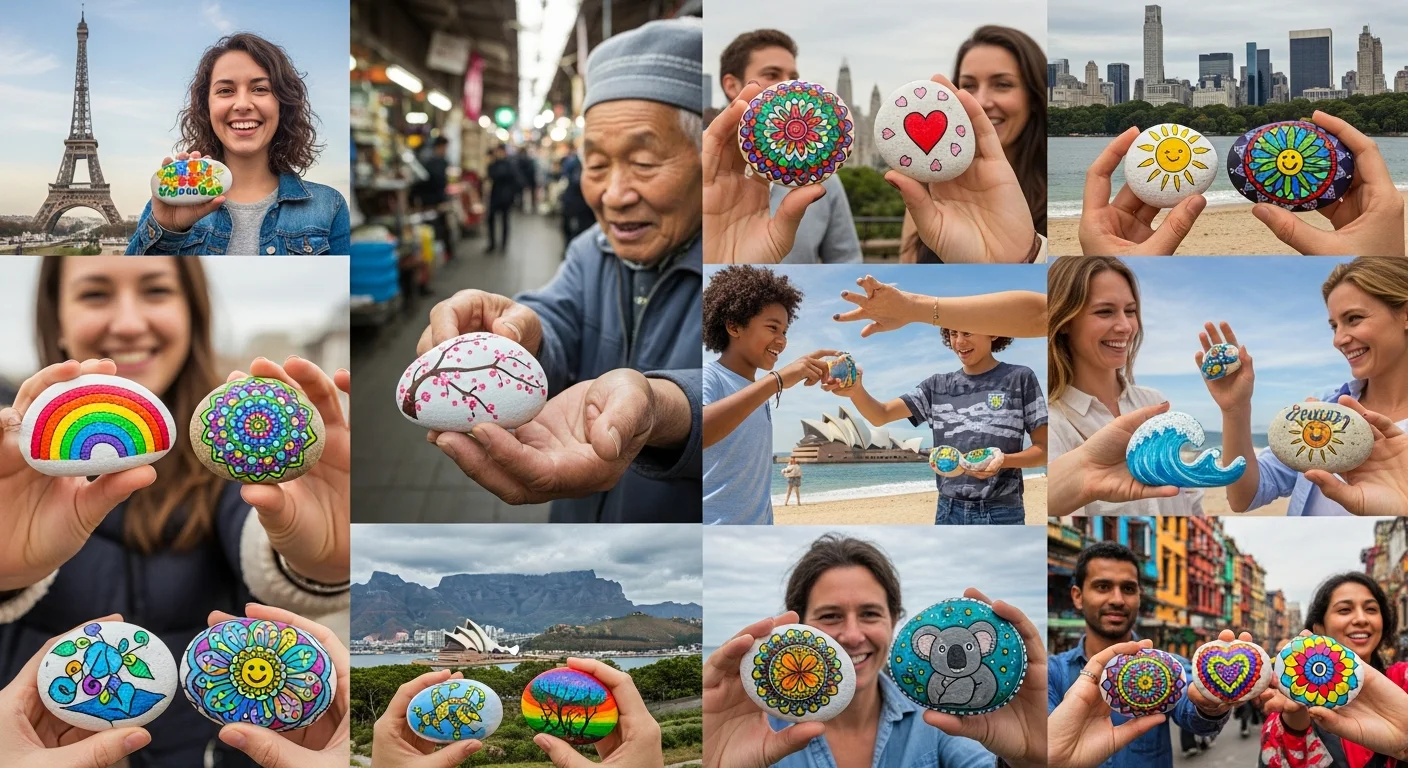
The natural sequel to a Halloween rock painting party is a community rock hunt. Coordinate with your guests to hide all finished rocks on Halloween morning across your neighbourhood. Share the hiding locations in a group chat so non-participants can also search. Register every rock on RoxGeo so the party continues online as rocks are found, re-hidden and tracked across the community for weeks after Halloween.
Frequently Asked Questions
How many rocks per guest should I prepare?
Provide three to four rocks per guest. Most people complete two to three rocks in a two-hour session. Having extras ensures no one feels limited by finishing their supply early, and leftover rocks become community rocks to hide afterwards.
What food works best at a rock painting party?
Finger foods that do not require attention or cutlery: crisps, dips, mini sandwiches, cheese board, grapes, Halloween-themed cookies. Avoid anything sticky, greasy or crumbly that could transfer to paintbrushes or rocks. Hot food that requires plates and forks interrupts the painting flow.